
BA/BSC (Hons) Design For Interactive Media
Title: Brief One
Submission Date: 29th September 2005
Raymond O’Brien
Product: SLR Film Camera
Vendor: Canon
Model: EOS 55
Description And Functionality:
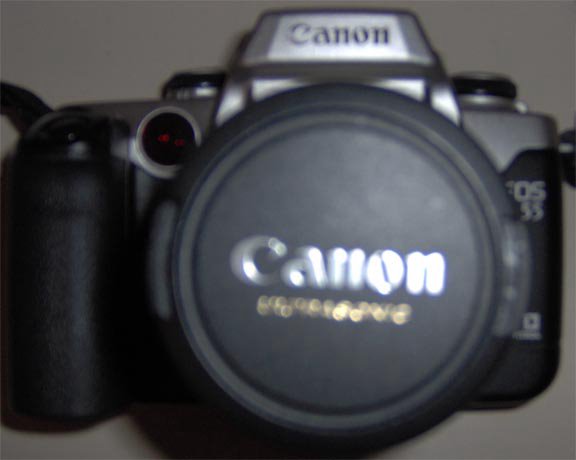
The product itself is a SLR 35mm film photo camera. It is built out of a robust black plastic and plated in aluminium to give a metallic finish. The buttons and knobs attached to the chassis of the camera are also black and aluminium coloured plastic.
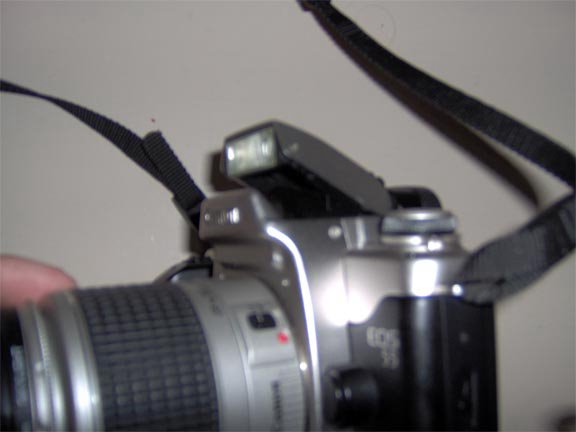
The camera features a built in flash, which is situated at the top of the chassis. Just above the flash is a bracket for the attachment of an external flashgun.
The back of the chassis is a door, which opens to allow the insertion of film.
The camera contains a timer function button. This button also turns on the infrared LED to allow a remote control to be used when the user needs to be in a position in which they cannot manually use the camera.
Attached to the chassis is 28-90 mm automatic/ manual lens. This lens can use the camera’s auto focus functionality if desired.
There are three visual feedback indicators. One display is on the topside of the chassis. It displays information about the film speed, shutter speed, battery life and aperture. Another visual display is on the backside of the chassis. It displays date and time information, which can be set to display on the negative and in turn on the photograph for development. The third display is in the viewfinder. This displays the shutter speed and aperture.
There is a screw socket on the base of the chassis, which allows for the attachment of a tripod.
The knob on the top left allows for the changing of basic settings
The button on top, in front of display is for opening the shutter and taking the photograph.
The wheel behind it is for changing the shutter speed.
On the back of the camera there is a large wheel used for changing the aperture. This wheel works with an aperture preview button marked *CF.
Also On the back down at the base of the chassis is a slider button, which sets the camera from standard photograph to panoramic.
Interface design:
I’m not the greatest fan of reading so I decided not to read the user guide to discover how to use this camera. From past experience I had a fare idea what the symbols and different buttons and knobs were for. In my opinion, today many operations and functions in products today have become so similar and standard that it is almost second nature for someone to pick up any camera and use it to take a photograph.
The user interface is quiet easy to navigate around. Each knob has several functions assigned to it in order to reduce the amount of buttons that are needed. As cameras are, it is obvious how to use it at a very basic level (point an click) with the automatic settings turned on. The camera however can also be turned to full manual mode where settings can be changed completely and fine-tuning to be done. This is after all a professional grade camera.
The viewfinder is where the user mainly stations his/ her eyes. It’s feedback displays what image should appear at development.
The camera comes with remote control options and because there is a socket for a tripod the camera can be used in almost any situation. With its automatic settings, anyone could use this camera.
Initially the camera does seem a little scary to use but personally anyway, after a few times using it. Remembering how to do things was easy. Because I thought myself how to do something from playing with it I tend not to forget how to do something.
This product is a very unconstrained product. No damage can be caused with the system and interface of the camera itself
Does the camera make use of a metaphor? Symbol wise it does. There are symbols on the camera that represent and eye (for the viewfinder to be looked through), a stopwatch (for the timer), a remote control, a lightening strike (for the flash), etc. I think these metaphors are successful in the way that the indicate clearly what they represent and are for.
How to take a standard Photograph:
1) Set the camera from “lock” represented by a symbol “L” inside a red box to automatic which canon use a box with a green outline.
2) Aim the camera at the target/ subject by looking through the viewfinder.
3) While looking through the viewfinder press the finger sized black button the top of the chassis to take the photo. If the flash is required it will automatically anticipate the need and rise the internal flash.
4) When the film is finished it will automatically rewind.
5) To extract the film from the camera, pull down the release switch at the side of the chassis and the door/ hatch will open at the back of the chassis.
I knew what to do in this task because I had use a similar camera before. Also Canon does have a reputation of keeping the interface the same or similar on the majority of their camera equipment, i.e. symbols and buttons are the same. Also as I said earlier a lot of the symbols are metaphors or represent something that indicated what approach to take in setting the camera up for a photograph.
I think this product is easy to use but for a completely new beginner I would recommend being shown where to start when using it.

0 Comments:
Post a Comment
<< Home